


This is a project I worked on in my free time over a summer. It is a MAME (Multiple Arcade Machine Emulator).
Day 1: Started off with 3 sheets of plywood and drawing an Arcade design onto the boards.
After everything was drawn out, a work area was setup outside and a jigsaw was used to cut everything out.
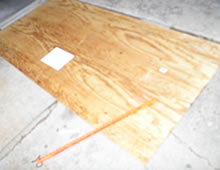
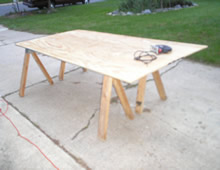
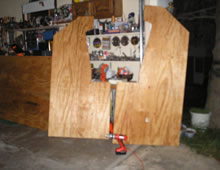
Day 2: After all the pieces were cut, started to put it together. Starting with the base support then attaching the sides.
After attaching the sides, screwed on the top, back, and front panels to help support the sides. Used some carpenters glue to help hold everything together.
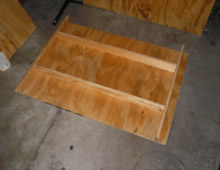
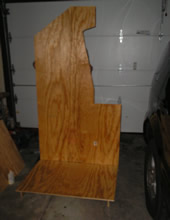
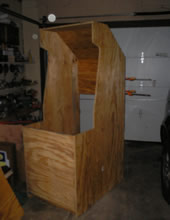
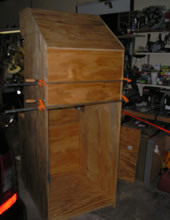
While the glue was drying, applied some wood putty to patch up all the uneven areas where the screws were drilled in. Also added the speaker and monitor shelf after the glue dried.
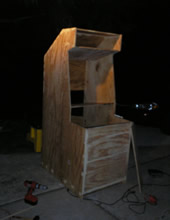
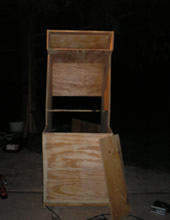
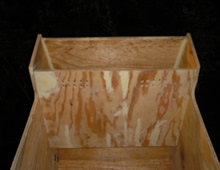
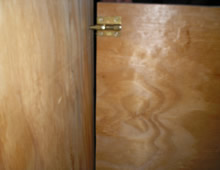
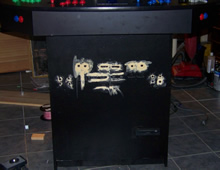
Here are a couple pictures of the rear door with the hinges and lock.
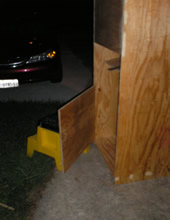
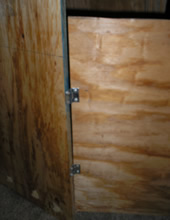
Day 3 & 4: After sanding everything to get a nice flat smooth feel, added 2 layers of primer. (Dad putting finishing touches on it)
Went over the primer with about 4 coats of semi-gloss black paint to make sure everything had an even layer.
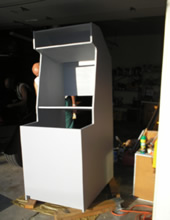
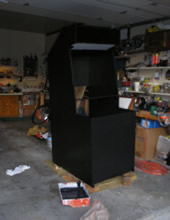
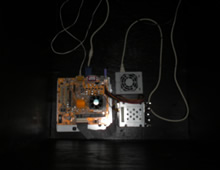
Day 5: Here comes the fun part, moved the cabinet to my room and started working on the guts of the machine. The actual hardware changed since the time of the pictures.
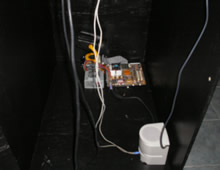
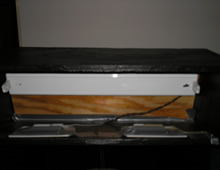
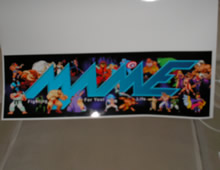
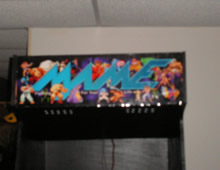
Installed a 20" Fluorescent light fixture to have a backlit marquee. Also taped down 2 flat panel speakers right above the speaker holes. Found a marquee to have printed online because I was too lazy to design my own. Put the file on a thumb drive and took it to staples to have it printed out on gloss paper.
Got a nice 25" TV with S-Video from a yard sale for about 20$ that fit perfectly into the cabinet. Hooked it up to the S-Vid out on the 9800 and worked out nicely.
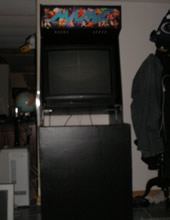
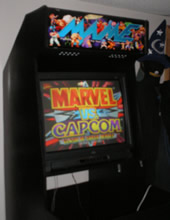
Decided to add CD-Rom support to the cabinet so I planned out how to add it. I used masking tap to cover the area I was going to cut so that it would be easier to draw the outline and protect the layer of paint from being scratched too deep from the saw.
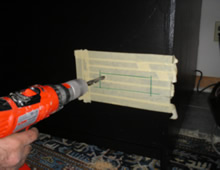
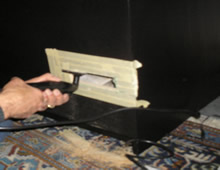
To support the CD-Rom drive, I used some of the left over wood from the cabinet to cut out a square big enough to hold the drive.
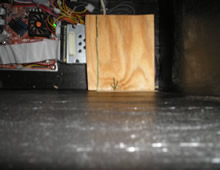
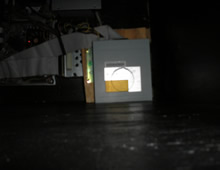
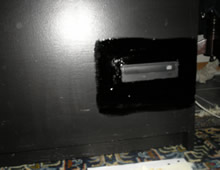
After the drive was screwed down into place, I had to clean up the job to make it look nice. So I taped the front of the drive to protect it and took some wood putty and filled in all the gaps around the drive to make it look like one piece. After the putty dried, I peeled off the tape to see how much sanding was needed to made the drive look like a part of the cabinet. After some sanding, I put on a new layer of tape and used the same semi-gloss black paint to color the putty. (In the picture the paint is still wet)
Future Updates: I had the idea of making the control panel a 4-player layout at first, but now after some thinking I think I'm going with the 2-player layout with a 2 port controller adapter. Normally where the coin slot will go, I'll be adding player 3 and 4 controller support with a PS2/N64 adapter. That way if someone wants to use an N64 or PS2 controller, they can just plug one in and play.
The glass bezel to cover the TV has still not been planned out, I'm still waiting to finish the control panel before fitting the glass.
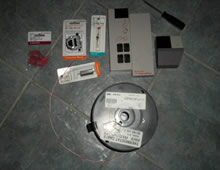
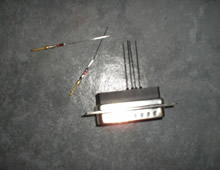
Started working on the old-school controller layout. Decided to go with 2xNES 2xSNES 2xGenesis 2xN64 and 2xPS2 controller adapter along with the original idea of have a 4 player arcade stick layout. So far I got the 2xNES and 2xSNES adapter working off the LPT1+USB port. Here is a pic of some stuff I used for the adapter:
I started off by soldering diodes to the lines that draw in power.
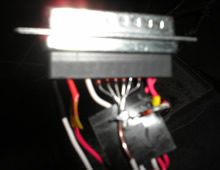
The next 2 pics are of the final connector. The left is the guts of the adapter and the right is the adapter with the housing. I had to wire in a USB to leech an additional 5v because NES controllers need alot of power to function and the adapter was struggling to work properly.
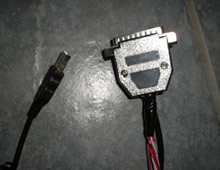
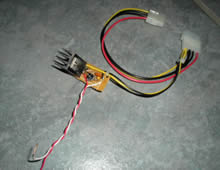
Here is a more recent image of the adapters. There are 2 for NES, SNES, PSX and Genesis but it is not in the image. The other pic is a voltage adjuster circuit I put together for the NES adapter that required the extra juice to run.
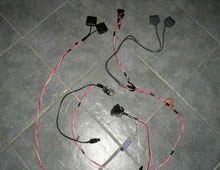
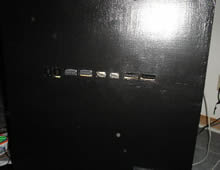
Now that the adapters are complete, (holding off on the N64), It's time to add slots for the plugs to fit in. I took measurements of each female connects and made a sketch on a piece of paper which then I taped onto where the cuts were going to be. After cutting, it had to be sanded a bit for a better fit and had to use wood putty again to fill in all the cracks and chips left on the edges. When the putty dried, sanded it lightly and added a new layer of black paint.
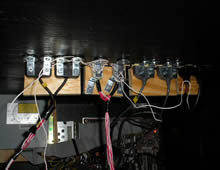
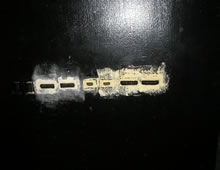
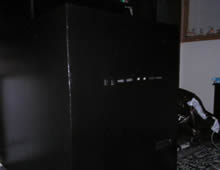
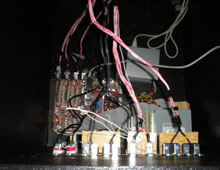
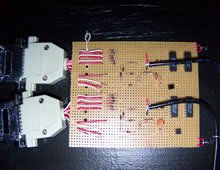
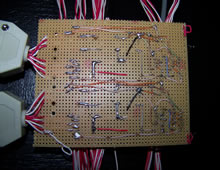
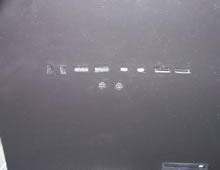
Finally got my hands on some CMOS 4006 chips I needed to make the N64 adapter work. Here is a front and back view of the circuit and the image of the plug installed on the front of the cabinet.
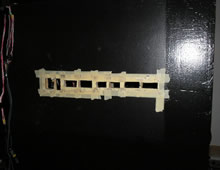
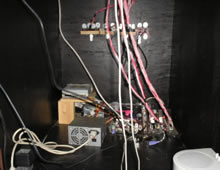
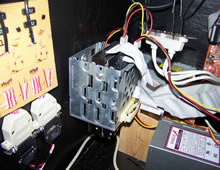
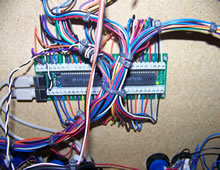
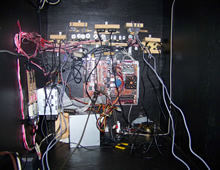
Decided to clean up the wiring and do some internal remodeling. Used a staple gun to line up the wires along the walls, placed the motherboard on the wall instead of the floor to make room, and placed the harddrive cage on the wall with rubber washers to absorb and shocks.
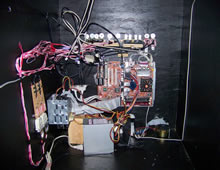
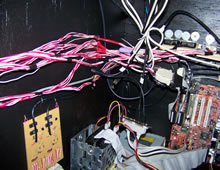
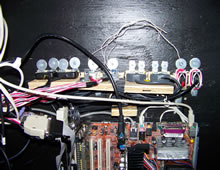
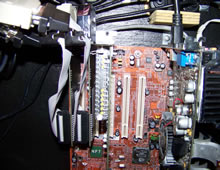
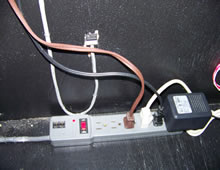
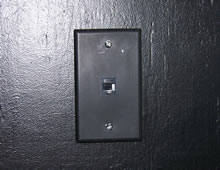
Added a mini amp and sub with volume control knobs next to the power switch. Wireless keyboard support adapter if to the right of the screen for now, and also added network plug on the side of the cabinet located above the power extension cable.
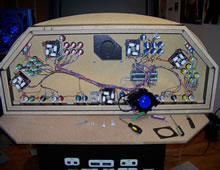
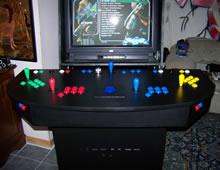
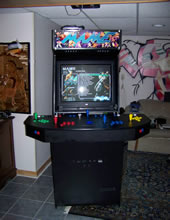
Finally got the control panel, installed it, and used L-brackets to hold it in place. Here is a zoomed in image of the controls with the console adapters under it and a zoomed out image of the entire cabinet.
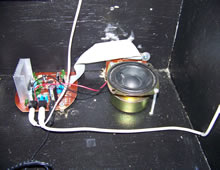
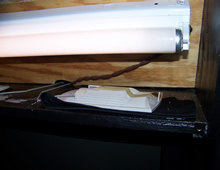
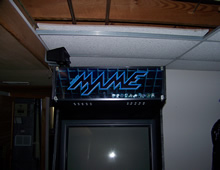
Designed a new marquee and took out the old one and realized the lamp inside had fallen over onto the speak and slightly burned it. Not much damage was done but decided to put some cloth under the speakers to stop light from leaking through.
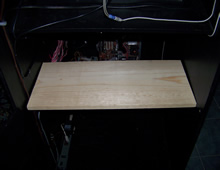
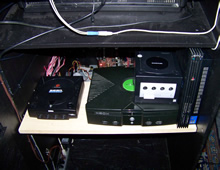
Added a shelf inside the cabinet which can be accessed from the back. This is where the newer consoles that can't be emulated are stored. Will have to order controller extension cables for these consoles and add them to the front of the case along with the rest. There will be 14 new connectors in the front when finished.
�
These consoles run through an adapter which connects all 4 consoles to 1 video cable which is then connected to a TV tuner which can be accessed through the arcade front-end. Here is a shot of Halo running on the arcade.
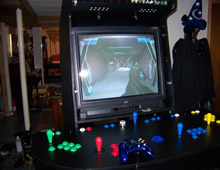
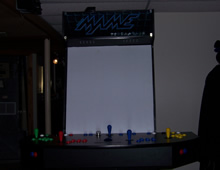
The bezel to cover the TV is almost complete as well. Its cut out of lexan to fit perfectly. Just need to me a wood or cardboard bezel to put between the TV and the sheet of lexan.
�
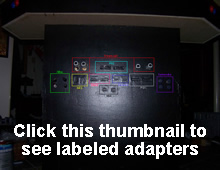
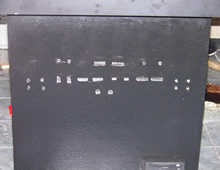
Finished the front where all the console adapters go. Added Xbox, PS2, Gamecube, and Dreamcast. Here are some images of the holes being drilled, adapters being fitted and puttied, and finally being sanded and painted.

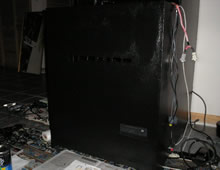
Final pics of the bezel and the complete cab. Project finished on July 3, 2007.
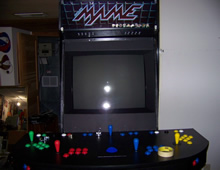
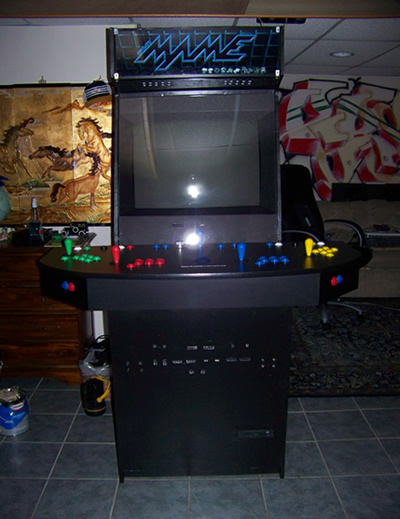
Update: December 27, 2008
TV died on me and it was time for an upgrade to a new 28" flat screen and some new hardware. Updated the motherboard and graphics card with some stuff I had laying around. Now running a dual core socket 939 CPU and 6800GT PCIe video card. Also decided it's easier to have all the hardware installing in a spare chassis for less chance of damage to components.
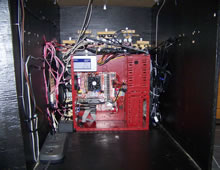
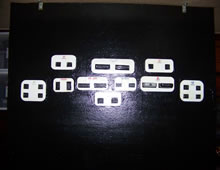
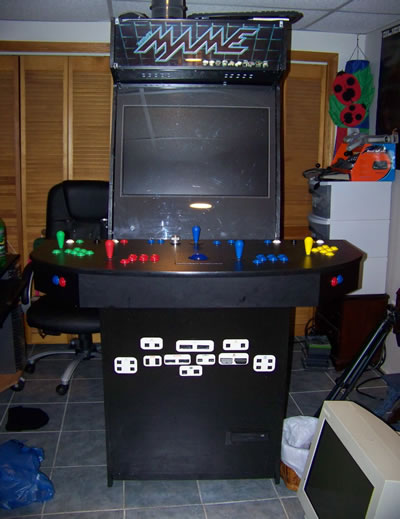
Currently this supports MAME, Mugen, NES, SNES, Genesis, N64, PSX, PS2, XBOX, and Gamecube.
Update: 2021
Revived the project with some major updates. Overhauled the computer completely. At one point the Arcade ran on 2 computers to control the old consoles and new separate. Some controller ports were removed/upgraded and the CD Drive was replaced with USB ports.

Currently this supports MAME, Mugen, NES, SNES, Genesis, N64, PSX, PS2, XBOX, and Gamecube.
This is a project I worked on in my free time over a summer. It is a MAME (Multiple Arcade Machine Emulator).
Day 1: Started off with 3 sheets of plywood and drawing an Arcade design onto the boards.
After everything was drawn out, a work area was setup outside and a jigsaw was used to cut everything out.


Day 2: After all the pieces were cut, started to put it together. Starting with the base support then attaching the sides.
After attaching the sides, screwed on the top, back, and front panels to help support the sides. Used some carpenters glue to help hold everything together.


While the glue was drying, applied some wood putty to patch up all the uneven areas where the screws were drilled in. Also added the speaker and monitor shelf after the glue dried.


Here are a couple pictures of the rear door with the hinges and lock.


Day 3 & 4: After sanding everything to get a nice flat smooth feel, added 2 layers of primer. (Dad putting finishing touches on it)
Went over the primer with about 4 coats of semi-gloss black paint to make sure everything had an even layer.


Day 5: Here comes the fun part, moved the cabinet to my room and started working on the guts of the machine. The actual hardware changed since the time of the pictures.


Installed a 20" Fluorescent light fixture to have a backlit marquee. Also taped down 2 flat panel speakers right above the speaker holes. Found a marquee to have printed online because I was too lazy to design my own. Put the file on a thumb drive and took it to staples to have it printed out on gloss paper.


Got a nice 25" TV with S-Video from a yard sale for about 20$ that fit perfectly into the cabinet. Hooked it up to the S-Vid out on the 9800 and worked out nicely.


Decided to add CD-Rom support to the cabinet so I planned out how to add it. I used masking tap to cover the area I was going to cut so that it would be easier to draw the outline and protect the layer of paint from being scratched too deep from the saw.


To support the CD-Rom drive, I used some of the left over wood from the cabinet to cut out a square big enough to hold the drive.


After the drive was screwed down into place, I had to clean up the job to make it look nice. So I taped the front of the drive to protect it and took some wood putty and filled in all the gaps around the drive to make it look like one piece. After the putty dried, I peeled off the tape to see how much sanding was needed to made the drive look like a part of the cabinet. After some sanding, I put on a new layer of tape and used the same semi-gloss black paint to color the putty. (In the picture the paint is still wet)

Future Updates: I had the idea of making the control panel a 4-player layout at first, but now after some thinking I think I'm going with the 2-player layout with a 2 port controller adapter. Normally where the coin slot will go, I'll be adding player 3 and 4 controller support with a PS2/N64 adapter. That way if someone wants to use an N64 or PS2 controller, they can just plug one in and play.
The glass bezel to cover the TV has still not been planned out, I'm still waiting to finish the control panel before fitting the glass.
Started working on the old-school controller layout. Decided to go with 2xNES 2xSNES 2xGenesis 2xN64 and 2xPS2 controller adapter along with the original idea of have a 4 player arcade stick layout. So far I got the 2xNES and 2xSNES adapter working off the LPT1+USB port. Here is a pic of some stuff I used for the adapter:

I started off by soldering diodes to the lines that draw in power.

The next 2 pics are of the final connector. The left is the guts of the adapter and the right is the adapter with the housing. I had to wire in a USB to leech an additional 5v because NES controllers need alot of power to function and the adapter was struggling to work properly.


Here is a more recent image of the adapters. There are 2 for NES, SNES, PSX and Genesis but it is not in the image. The other pic is a voltage adjuster circuit I put together for the NES adapter that required the extra juice to run.


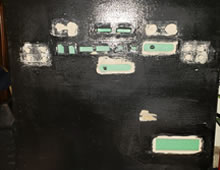
Now that the adapters are complete, (holding off on the N64), It's time to add slots for the plugs to fit in. I took measurements of each female connects and made a sketch on a piece of paper which then I taped onto where the cuts were going to be. After cutting, it had to be sanded a bit for a better fit and had to use wood putty again to fill in all the cracks and chips left on the edges. When the putty dried, sanded it lightly and added a new layer of black paint.


Finally got my hands on some CMOS 4006 chips I needed to make the N64 adapter work. Here is a front and back view of the circuit and the image of the plug installed on the front of the cabinet.


Decided to clean up the wiring and do some internal remodeling. Used a staple gun to line up the wires along the walls, placed the motherboard on the wall instead of the floor to make room, and placed the harddrive cage on the wall with rubber washers to absorb and shocks.


Added a mini amp and sub with volume control knobs next to the power switch. Wireless keyboard support adapter if to the right of the screen for now, and also added network plug on the side of the cabinet located above the power extension cable.


Finally got the control panel, installed it, and used L-brackets to hold it in place. Here is a zoomed in image of the controls with the console adapters under it and a zoomed out image of the entire cabinet.


Designed a new marquee and took out the old one and realized the lamp inside had fallen over onto the speak and slightly burned it. Not much damage was done but decided to put some cloth under the speakers to stop light from leaking through.


Added a shelf inside the cabinet which can be accessed from the back. This is where the newer consoles that can't be emulated are stored. Will have to order controller extension cables for these consoles and add them to the front of the case along with the rest. There will be 14 new connectors in the front when finished.


�
These consoles run through an adapter which connects all 4 consoles to 1 video cable which is then connected to a TV tuner which can be accessed through the arcade front-end. Here is a shot of Halo running on the arcade.

The bezel to cover the TV is almost complete as well. Its cut out of lexan to fit perfectly. Just need to me a wood or cardboard bezel to put between the TV and the sheet of lexan.

�
Finished the front where all the console adapters go. Added Xbox, PS2, Gamecube, and Dreamcast. Here are some images of the holes being drilled, adapters being fitted and puttied, and finally being sanded and painted.


Final pics of the bezel and the complete cab. Project finished on July 3, 2007.


Update: December 27, 2008
TV died on me and it was time for an upgrade to a new 28" flat screen and some new hardware. Updated the motherboard and graphics card with some stuff I had laying around. Now running a dual core socket 939 CPU and 6800GT PCIe video card. Also decided it's easier to have all the hardware installing in a spare chassis for less chance of damage to components.


Currently this supports MAME, Mugen, NES, SNES, Genesis, N64, PSX, PS2, XBOX, and Gamecube.


