


This project was started in 2002 so the picture quality for this log might not be great.
I started off with an ordinary, cheap, beige case and started sketching where I will be cutting the case for modifications.
Heat rises, so I took the top of the computer case and used a compass to draw where I will be cutting a hole for a 92mm fan.
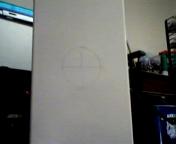
Next, I sketched where I would cut to place a window so the internal components could be displayed.
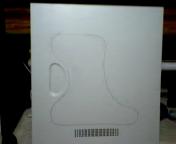
The window design I previously sketched on the left side panel.
I went ahead and used a metal sander and smoothed out the rough edges so I wouldn't cut myself while painting.
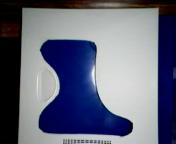
For the paint job, I used:
Primer (Rust-Oleum brand)
Blue Paint (Rust-Oleum brand)
Rubbing Compound
Wet-or-Dry Sand-paper @ 600, 1000, 1500, 2000 grits
Sanding block
Car Polish
Car Wax
Lint free cloth
The 1st step I took was with the 600 grit sand-paper.
I sanded to make the current beige paint as smooth and flat as possible.
While sanding, I had to be careful not to sand down to the metal.
When I was satisfied with the sanding, I grabbed the 1000grit and started sanding again to make it even smoother.
Primered
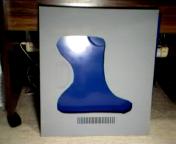
Repeat sanding with 1000grit. Blue paint on top of the primer and sanded with 1000grit.
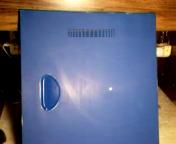
Took me about 5 or 6 layers of blue paint before I was able to sand up to 1500grit without the paint being sanded down to the primer.
After a couple rounds of the rubbing compound, the panel started to show some shine and reflection.
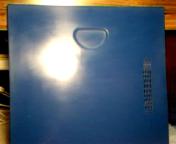
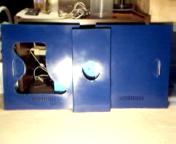
Time for polishing.
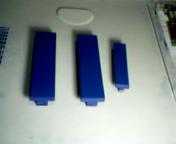
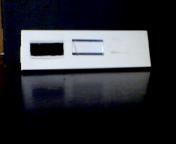
And the final pieces to be painted are the drive covers. One of them had to be cut to fit a thermometer LCD display into.
Installed a fan-grill and a fan onto the top panel.
*blue altered by flash
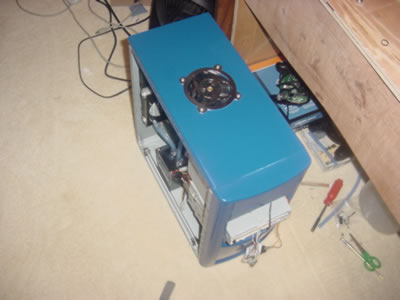
Old water-cooling setup for testing.
Newer setup will be shown later.
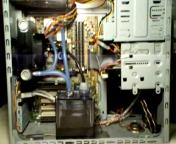
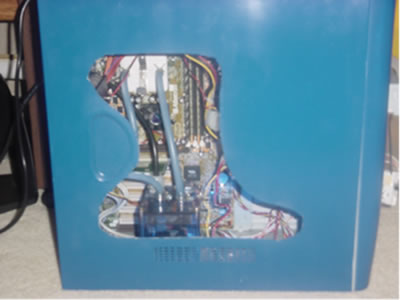
A few shots.
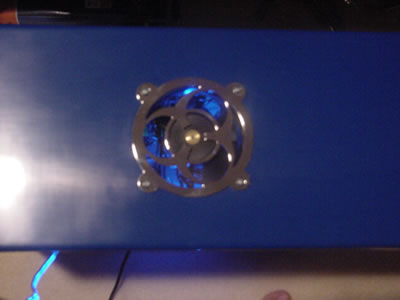
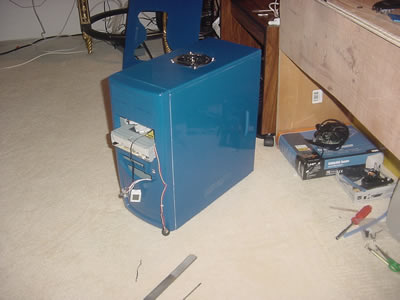
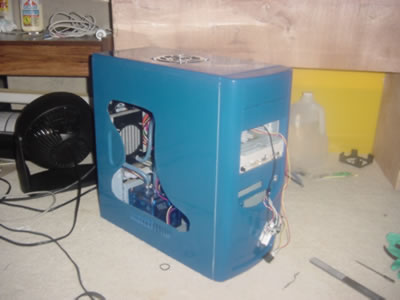
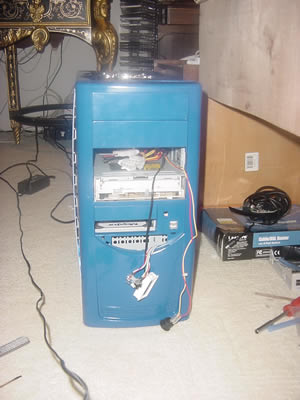
Installed an inverter with dual Cold Cathode lights.
The window in this picture does not have the actual lexan-glass installed yet.
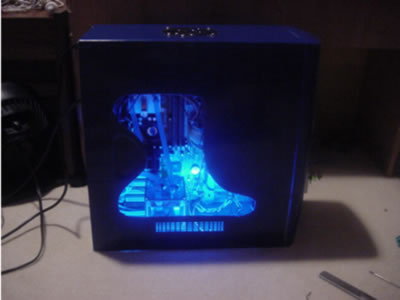
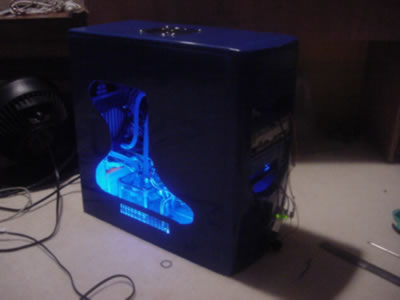
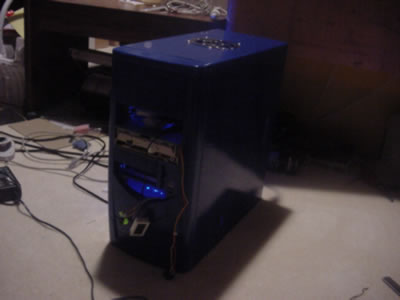
Thermometer and inverter switch
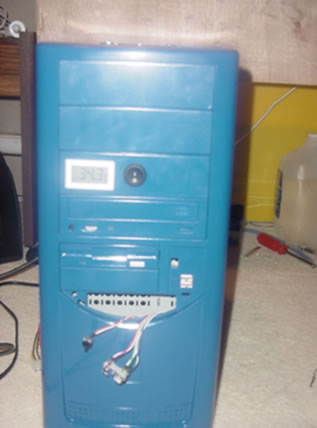
Case with the window and molding.
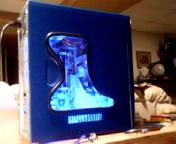
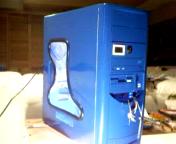
Button/LED panel
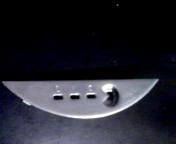
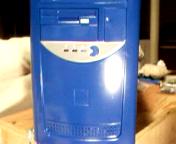
This was the end of Revision 1 of Project Blue.
Revision 2 Updates:
Window was recut,
Completely changed water cooling setup,
Modded an LCD onto front.
New water cooling setup needed a bigger window.


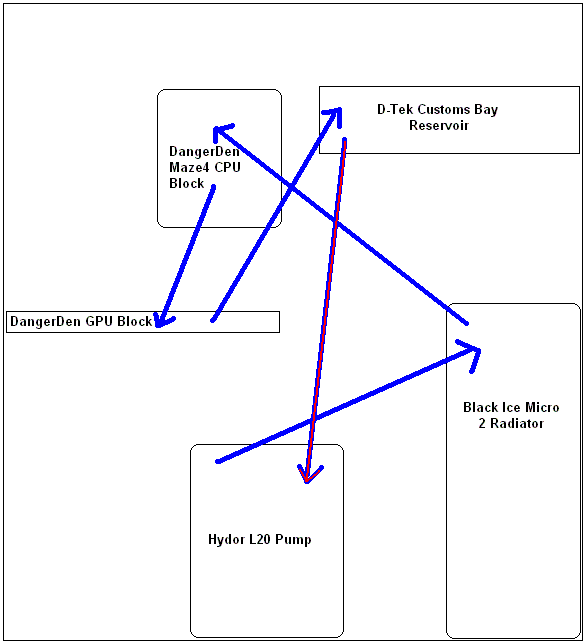
Loop with just the CPU cooling.


Loop with GPU cooling.

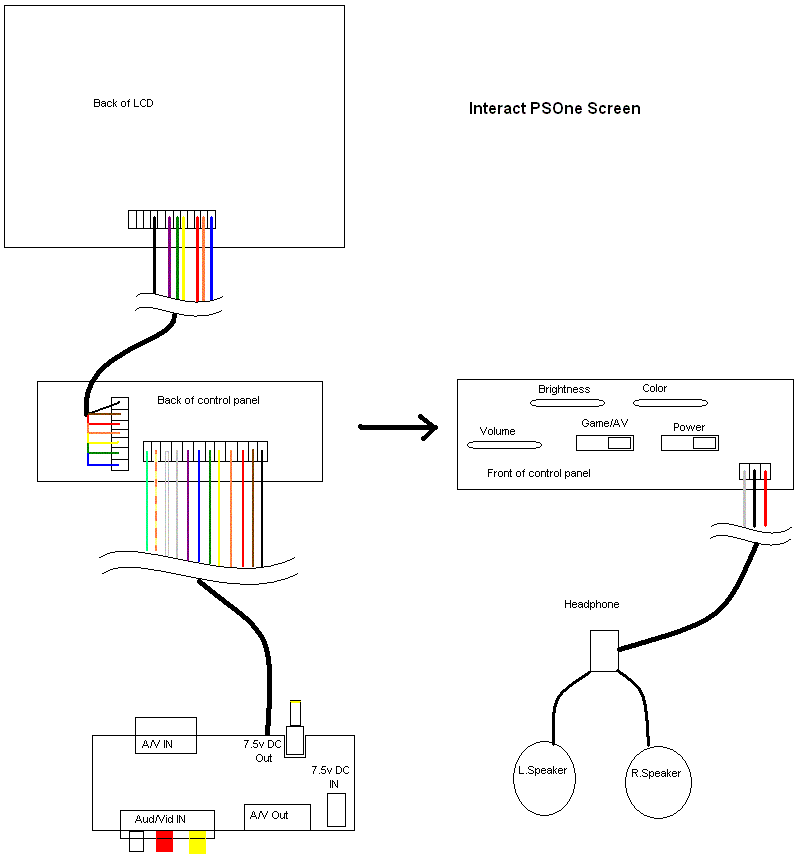
Took apart a PSOne LCD to use as a secondary display.
Before, After, and wiring diagram.


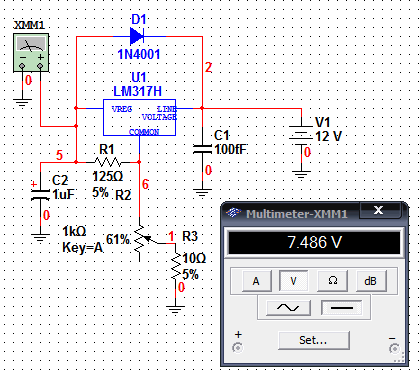
The circuit designed in Multisim to convert 12v line from power supply to 7.5 for the LCD.
That's the end of Revision 2.
The EX in Revision EX is for EXternal.
This revision adds an external enclosure for the water cooling components.
A sign-making friend was able to make an aluminum box to my specs.
After figuring out the internal layout, I cut the fan holes.
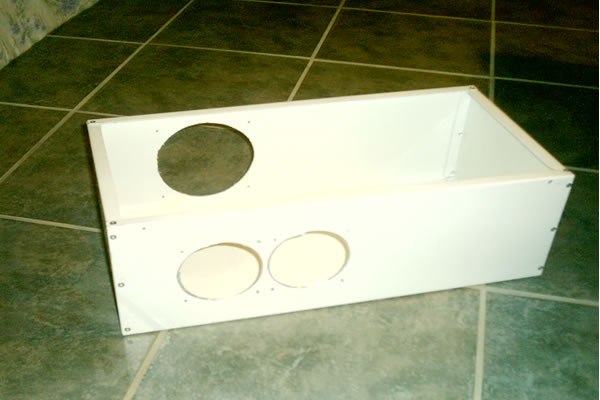
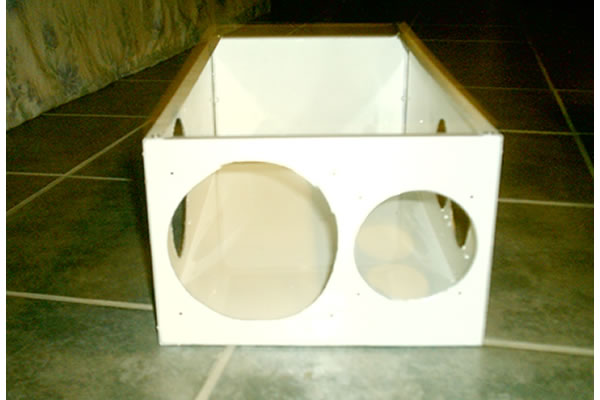
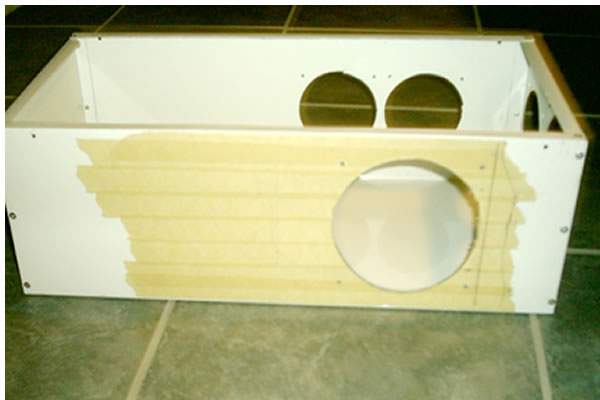
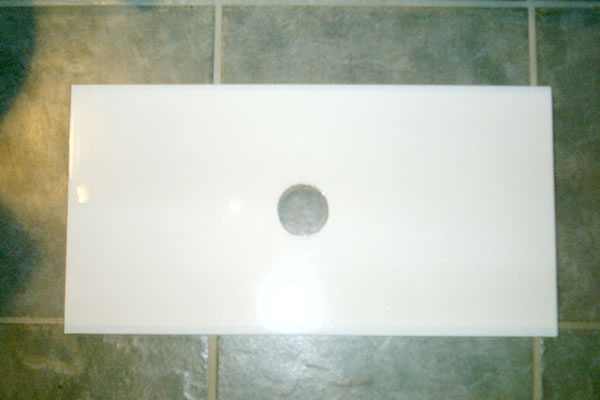
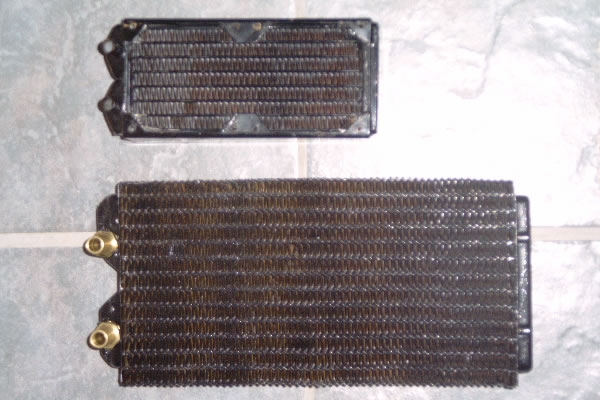
Old radiator next to new heatercore.
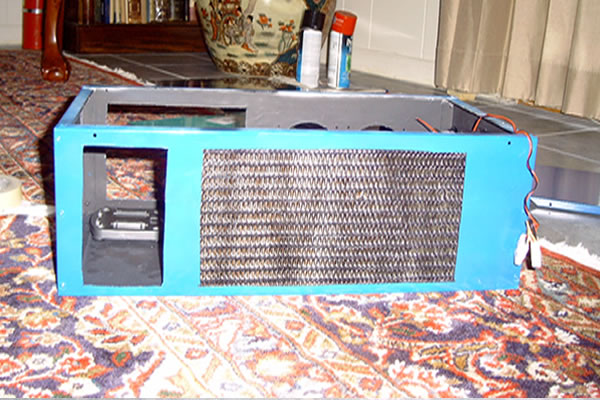
Paint process again. Heater core seated.
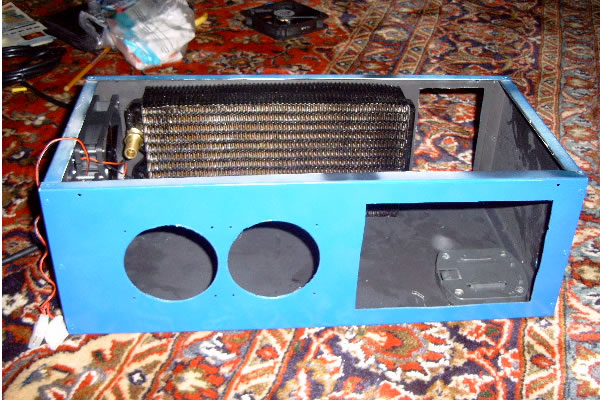
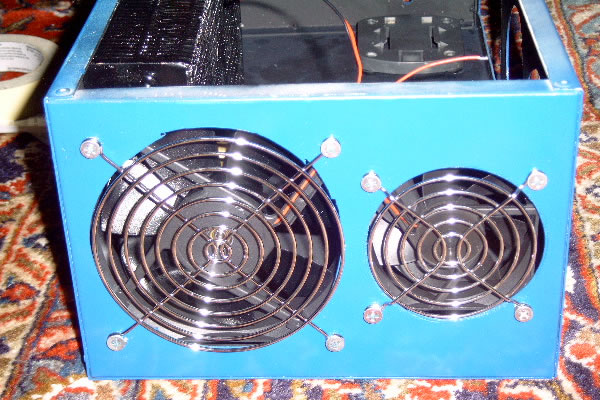
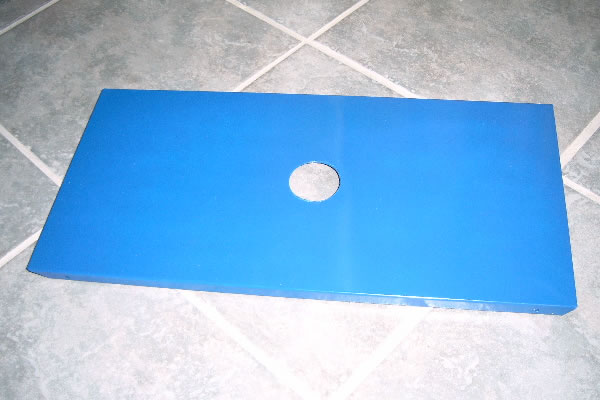
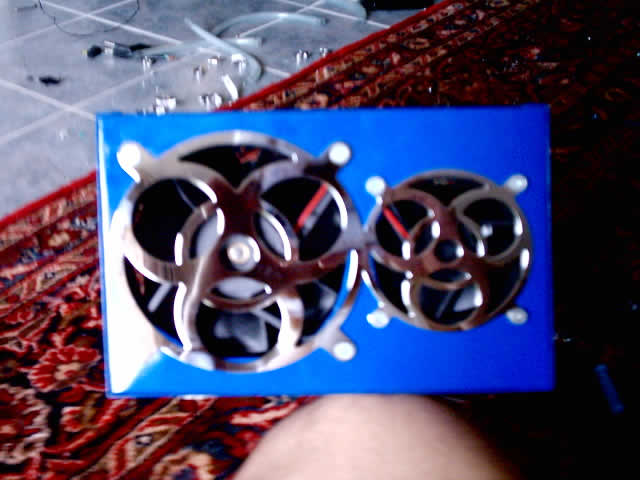
120mm + 80mm fan holes with cheap wire grills and the lid.
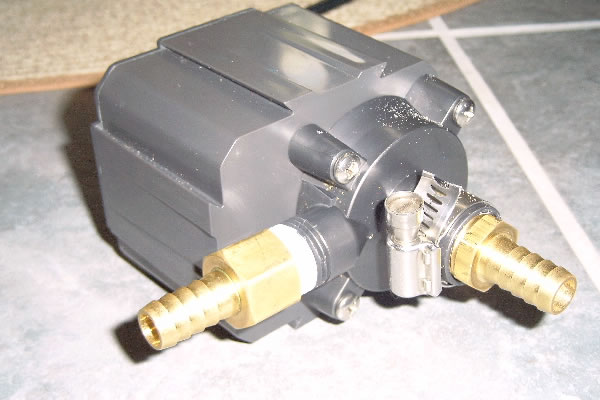
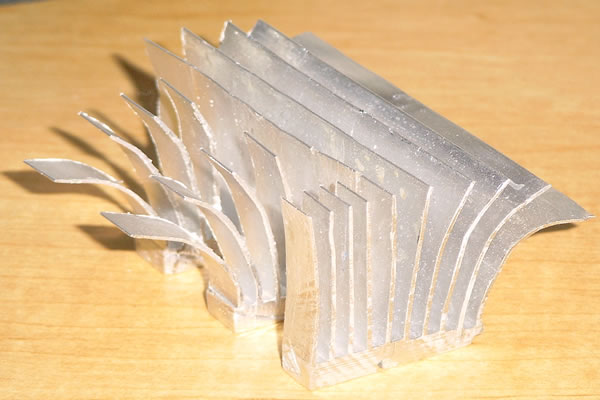
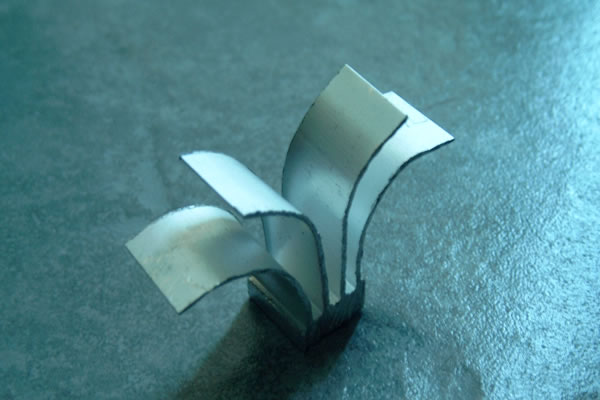
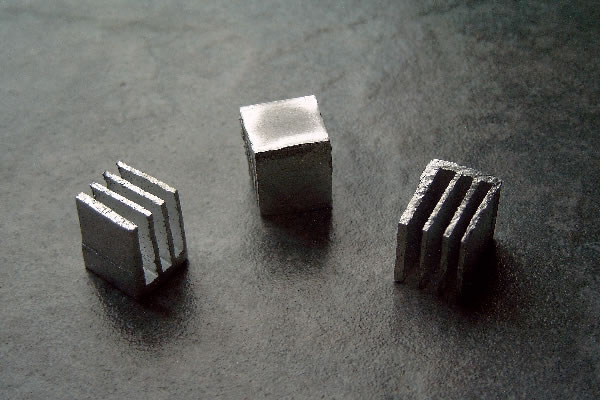
Danner Mag 3 aquarium pump and custom cut heatsink for the voltage regulators and video ram.
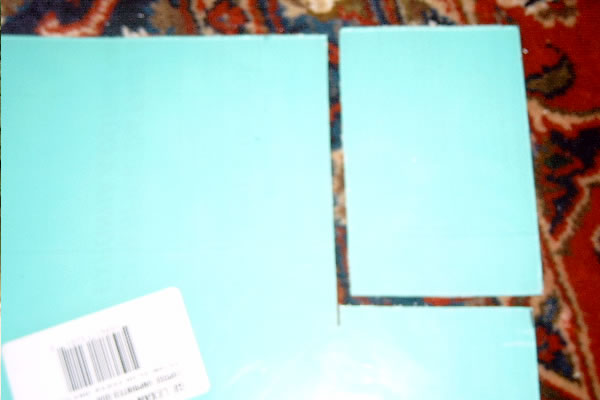
Lexan windows for leak checks.
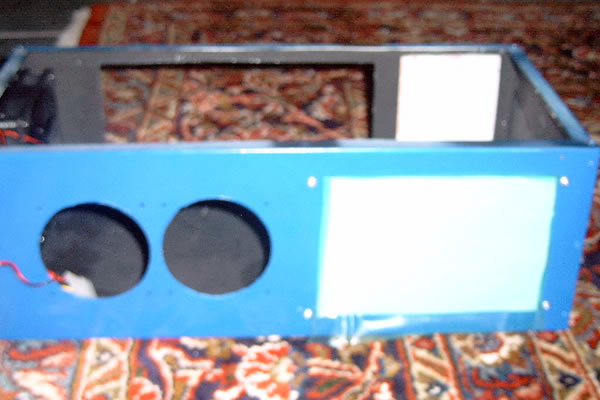
Pump to heater core.
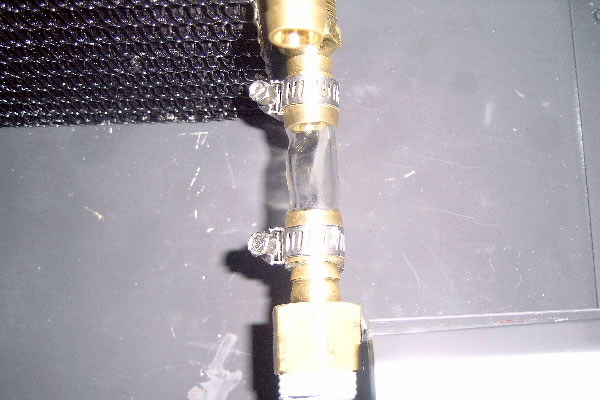
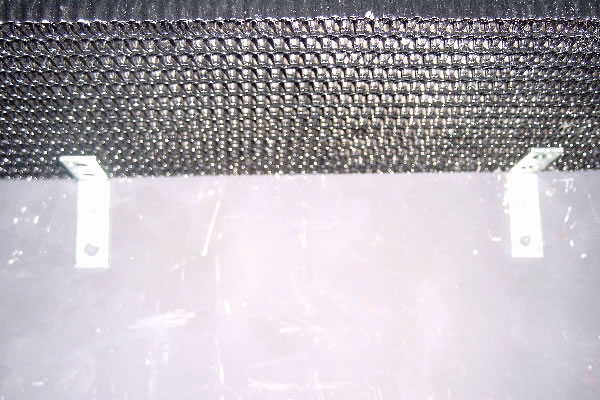
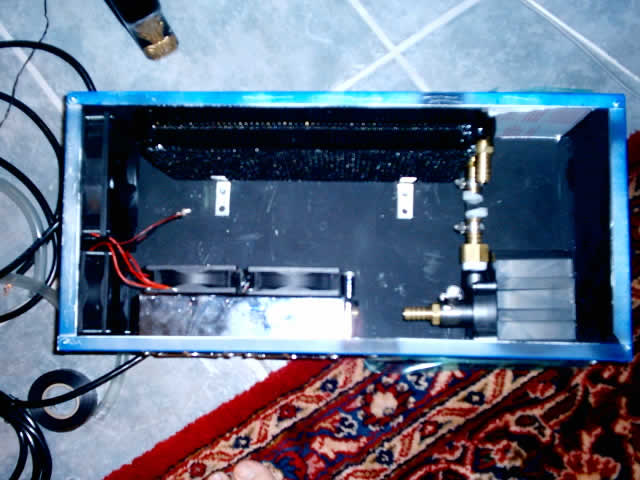
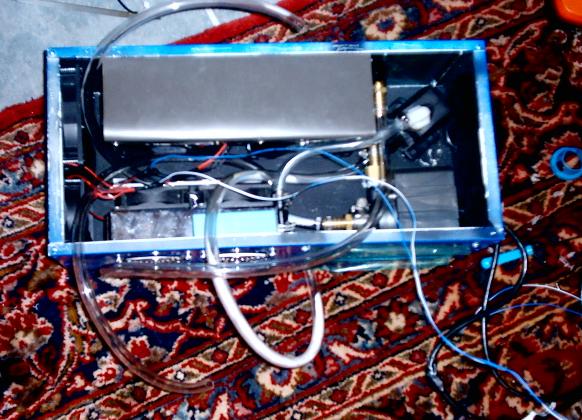
Top view of everything in place.
Fans wired for later.
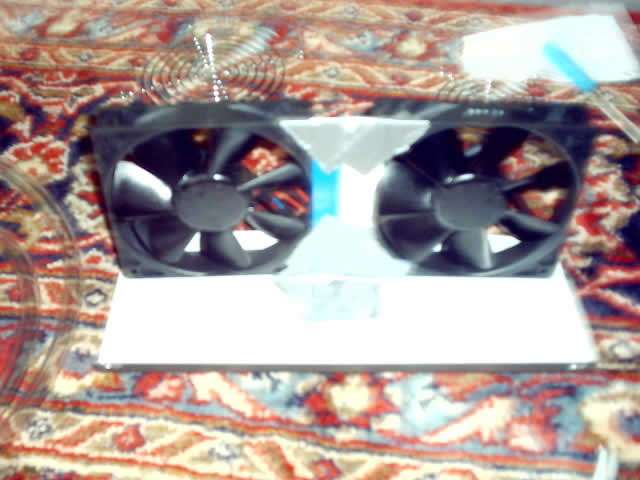
Custom fan shroud for the fans on the core.
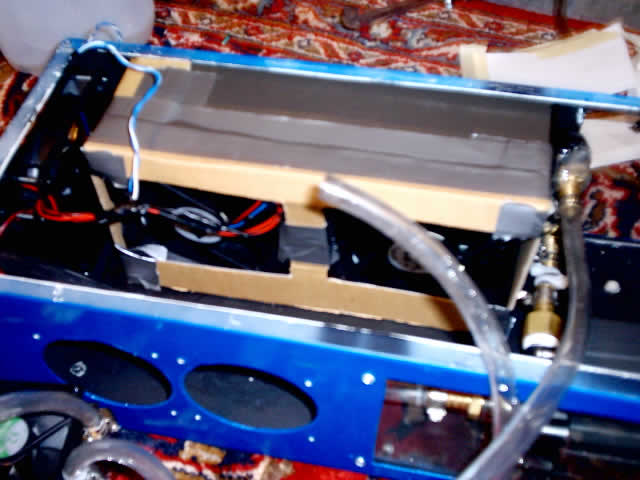
Everything completely installed. New fan grills.
Graphic card with the custom heat sinks.
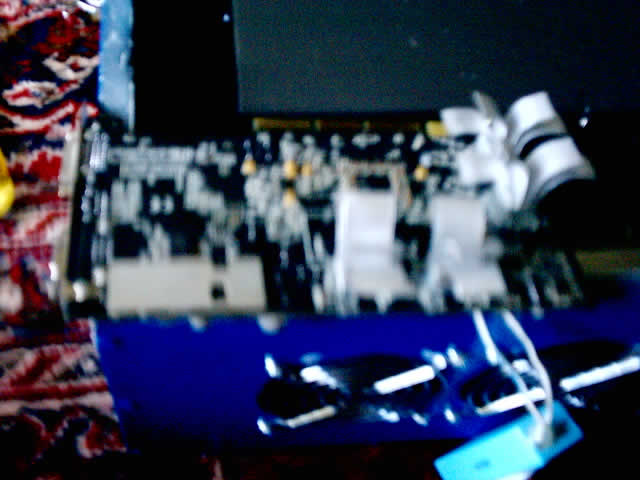
Assembly shots.
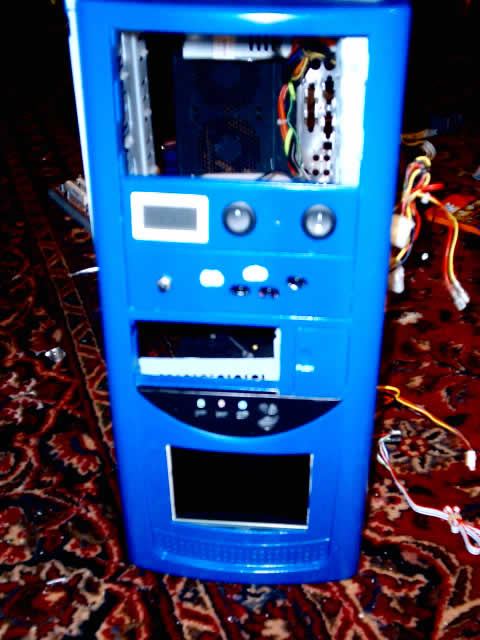
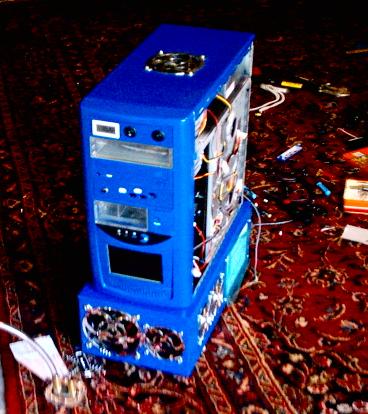
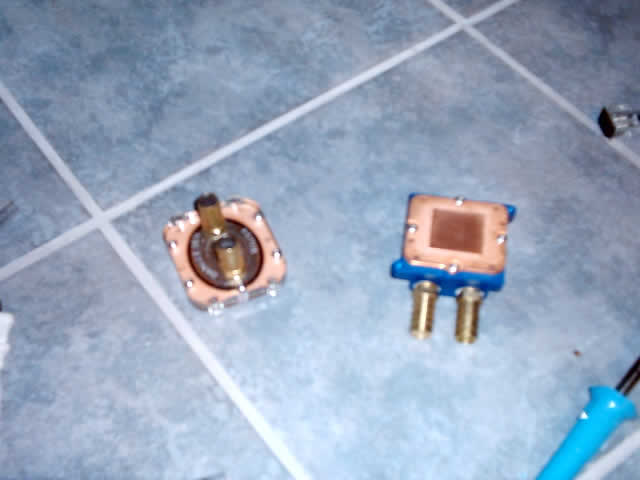
Waterblocks and tubing installation.
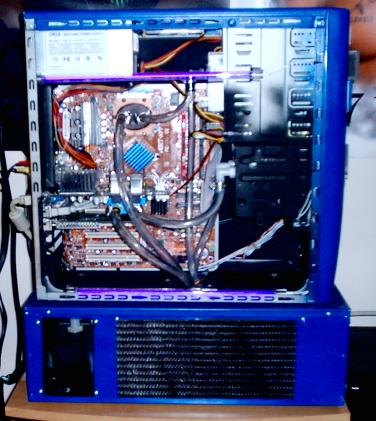
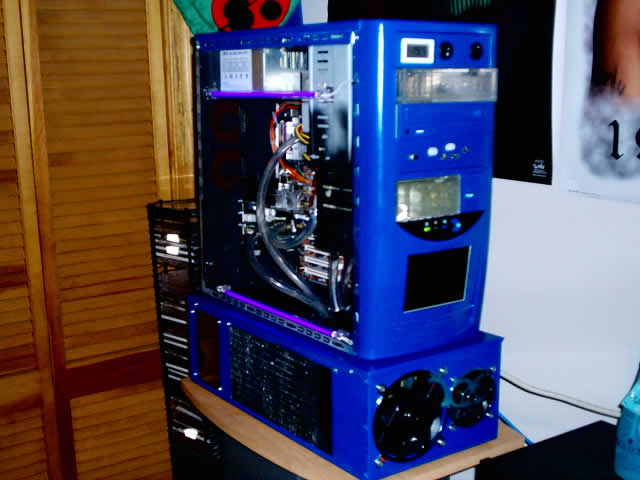
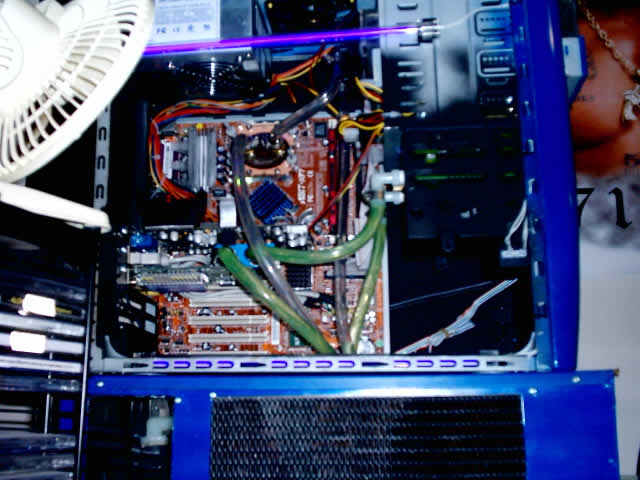
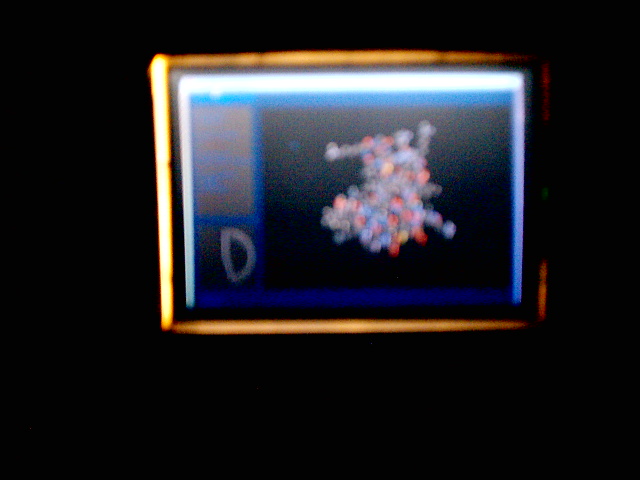
Revision EX with the LCD on.
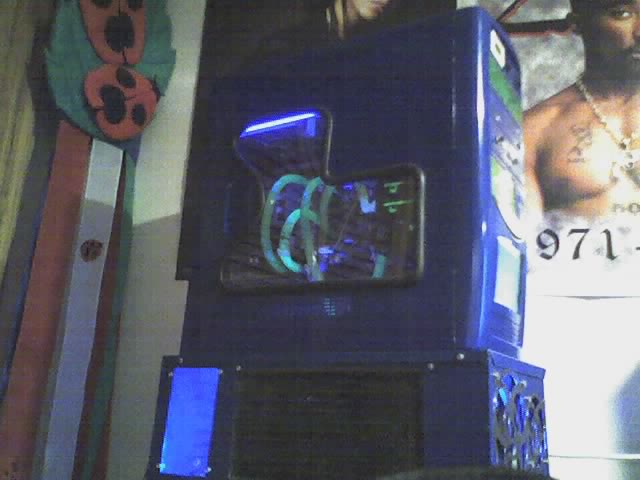
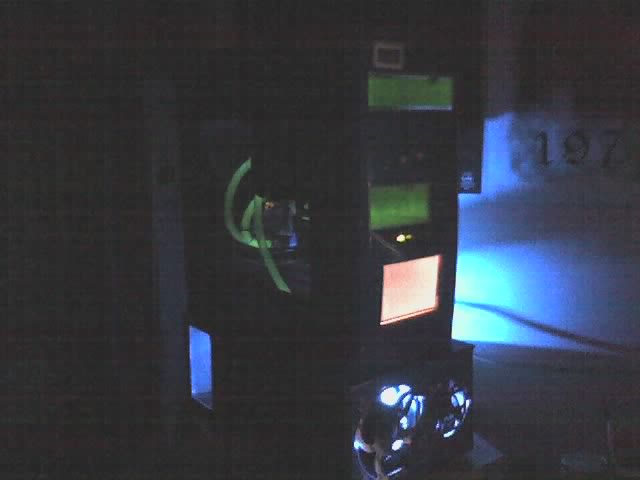
Revision EX2. The main update was redoing the loop.
In the last revision there were 2 loops with 2 pumps and 2 heater cores,
One loop for the CPU and North Bridge, other for the GPU.
This revision I combined them into 1 loop and took out a pump and radiator.


Added blue cold cathode to external.

Changed the cathodes in tower from blue to UV and added UV dye to the loop.
A mix of distilled water and about 5% anti-freeze is used.


Revision 5 was a major hardware upgrade.
Change waterblock adapters to fit the new components.
Upgraded Athlon XP cpu to A64 and Ati Radeon 9800 GPU to a possible Nvidia 6800GT SLI setup.
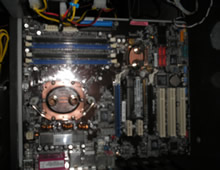
ASUS A8N-SLI deluxe board with the CPU and NB blocks.
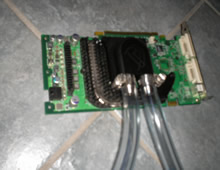
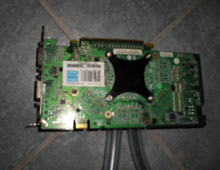
Here's the 6800GT with the new waterblock adapter.
The new CPU with the new waterblock adapter.
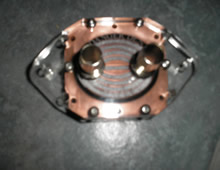
Replaced reservoirs from CD & floppy bay with a T-line.
Complete loop checked for leaks.
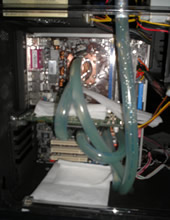
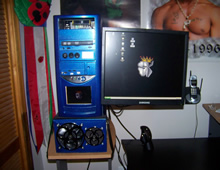
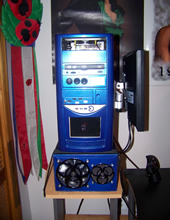
Revision 6 got metallic blue paint and LCD attachment.
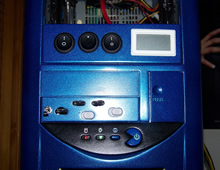

New motherboard for SLI but only main card was water-cooled.


Cleaned up some wiring and made space for the side panel to fit properly with the bolted LCD arm.


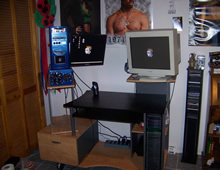
Final shots.

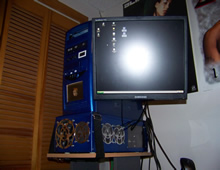
This project was started in 2002 so the picture quality for this log might not be great.
I started off with an ordinary, cheap, beige case and started sketching where I will be cutting the case for modifications.
Heat rises, so I took the top of the computer case and used a compass to draw where I will be cutting a hole for a 92mm fan.

Next, I sketched where I would cut to place a window so the internal components could be displayed.

The window design I previously sketched on the left side panel.
I went ahead and used a metal sander and smoothed out the rough edges so I wouldn't cut myself while painting.

For the paint job, I used:
Primer (Rust-Oleum brand)
Blue Paint (Rust-Oleum brand)
Rubbing Compound
Wet-or-Dry Sand-paper @ 600, 1000, 1500, 2000 grits
Sanding block
Car Polish
Car Wax
Lint free cloth
The 1st step I took was with the 600 grit sand-paper.
I sanded to make the current beige paint as smooth and flat as possible.
While sanding, I had to be careful not to sand down to the metal.
When I was satisfied with the sanding, I grabbed the 1000grit and started sanding again to make it even smoother.
Primered

Repeat sanding with 1000grit. Blue paint on top of the primer and sanded with 1000grit.

Took me about 5 or 6 layers of blue paint before I was able to sand up to 1500grit without the paint being sanded down to the primer.
After a couple rounds of the rubbing compound, the panel started to show some shine and reflection.


Time for polishing.

And the final pieces to be painted are the drive covers. One of them had to be cut to fit a thermometer LCD display into.


Installed a fan-grill and a fan onto the top panel.
*blue altered by flash

Old water-cooling setup for testing.
Newer setup will be shown later.


A few shots.


Installed an inverter with dual Cold Cathode lights.
The window in this picture does not have the actual lexan-glass installed yet.


Thermometer and inverter switch

Case with the window and molding.


Button/LED panel


This was the end of Revision 1 of Project Blue.
Revision 2 Updates:
Window was recut,
Completely changed water cooling setup,
Modded an LCD onto front.
New water cooling setup needed a bigger window.


Loop with just the CPU cooling.


Loop with GPU cooling.


Took apart a PSOne LCD to use as a secondary display.
Before, After, and wiring diagram.


The circuit designed in Multisim to convert 12v line from power supply to 7.5 for the LCD.

That's the end of Revision 2.
The EX in Revision EX is for EXternal.
This revision adds an external enclosure for the water cooling components.
A sign-making friend was able to make an aluminum box to my specs.
After figuring out the internal layout, I cut the fan holes.


Old radiator next to new heatercore.

Paint process again. Heater core seated.


120mm + 80mm fan holes with cheap wire grills and the lid.


Danner Mag 3 aquarium pump and custom cut heatsink for the voltage regulators and video ram.


Lexan windows for leak checks.


Pump to heater core.


Top view of everything in place.
Fans wired for later.

Custom fan shroud for the fans on the core.


Everything completely installed. New fan grills.


Graphic card with the custom heat sinks.

Assembly shots.


Waterblocks and tubing installation.


Revision EX with the LCD on.


Revision EX2. The main update was redoing the loop.
In the last revision there were 2 loops with 2 pumps and 2 heater cores,
One loop for the CPU and North Bridge, other for the GPU.
This revision I combined them into 1 loop and took out a pump and radiator.


Added blue cold cathode to external.

Changed the cathodes in tower from blue to UV and added UV dye to the loop.
A mix of distilled water and about 5% anti-freeze is used.


Revision 5 was a major hardware upgrade.
Change waterblock adapters to fit the new components.
Upgraded Athlon XP cpu to A64 and Ati Radeon 9800 GPU to a possible Nvidia 6800GT SLI setup.
ASUS A8N-SLI deluxe board with the CPU and NB blocks.

Here's the 6800GT with the new waterblock adapter.


The new CPU with the new waterblock adapter.


Replaced reservoirs from CD & floppy bay with a T-line.
Complete loop checked for leaks.

Revision 6 got metallic blue paint and LCD attachment.


New motherboard for SLI but only main card was water-cooled.


Cleaned up some wiring and made space for the side panel to fit properly with the bolted LCD arm.


Final shots.


